Nappy Rash Creams That Actually Work: Why Natural Tallow Is Safe for Baby Skin

A gentle nappy rash cream can turn diaper changes from stressful to calm. The right formula should soothe redness, protect against moisture, and avoid fragrances or harsh preservatives. In this guide you will learn how nappy rash cream works, what to use at every change, which ingredients to favor, and when to call a pediatrician for extra help.
How the cream protects baby skin
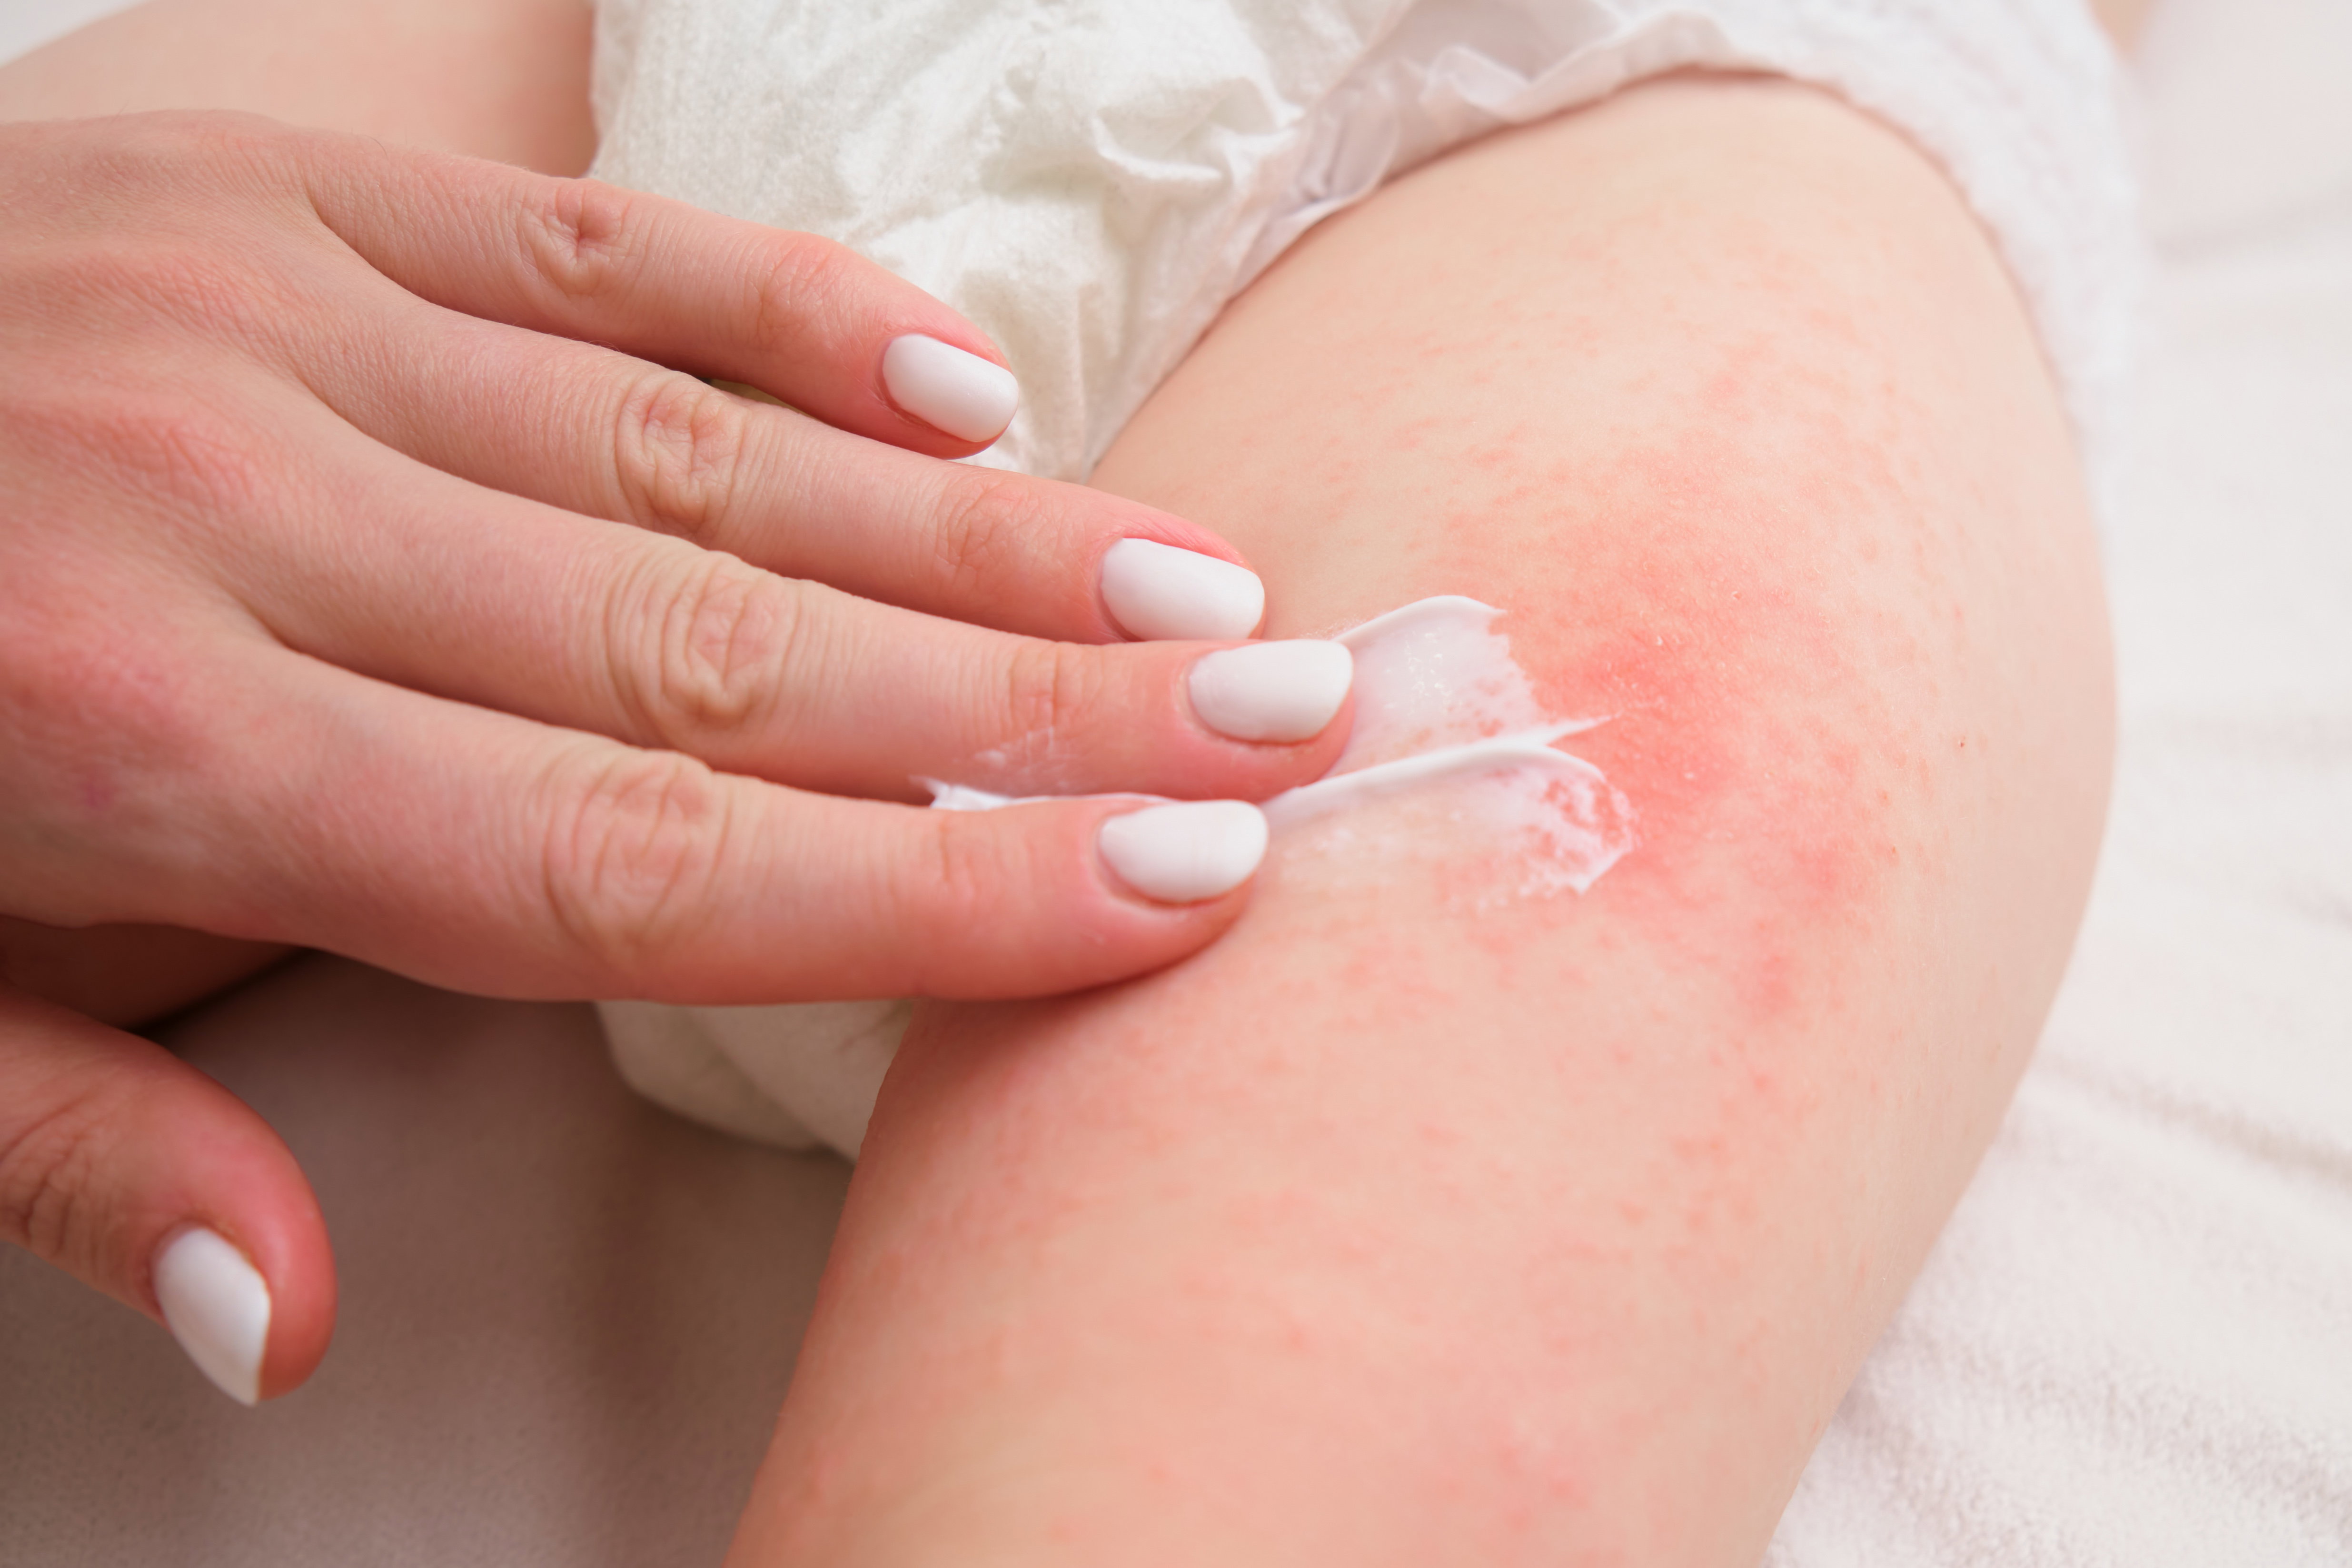
Diaper areas face friction, trapped moisture, and enzymes from stool and urine. A nappy rash cream creates a breathable shield that keeps irritants off the skin while it repairs.
Ingredients like zinc oxide, shea butter, or grass fed beef tallow offer cushion without sealing in heat. Short, fragrance-free lists lower the risk of stinging or allergic reactions. For mild redness, a lighter layer works; for visible tears or raw spots, a thicker shield may be needed until the barrier recovers. Because the layer reduces rubbing, babies can move more comfortably, and caregivers can stretch the time between nighttime changes without causing extra chafing.
Step-by-step application at changes
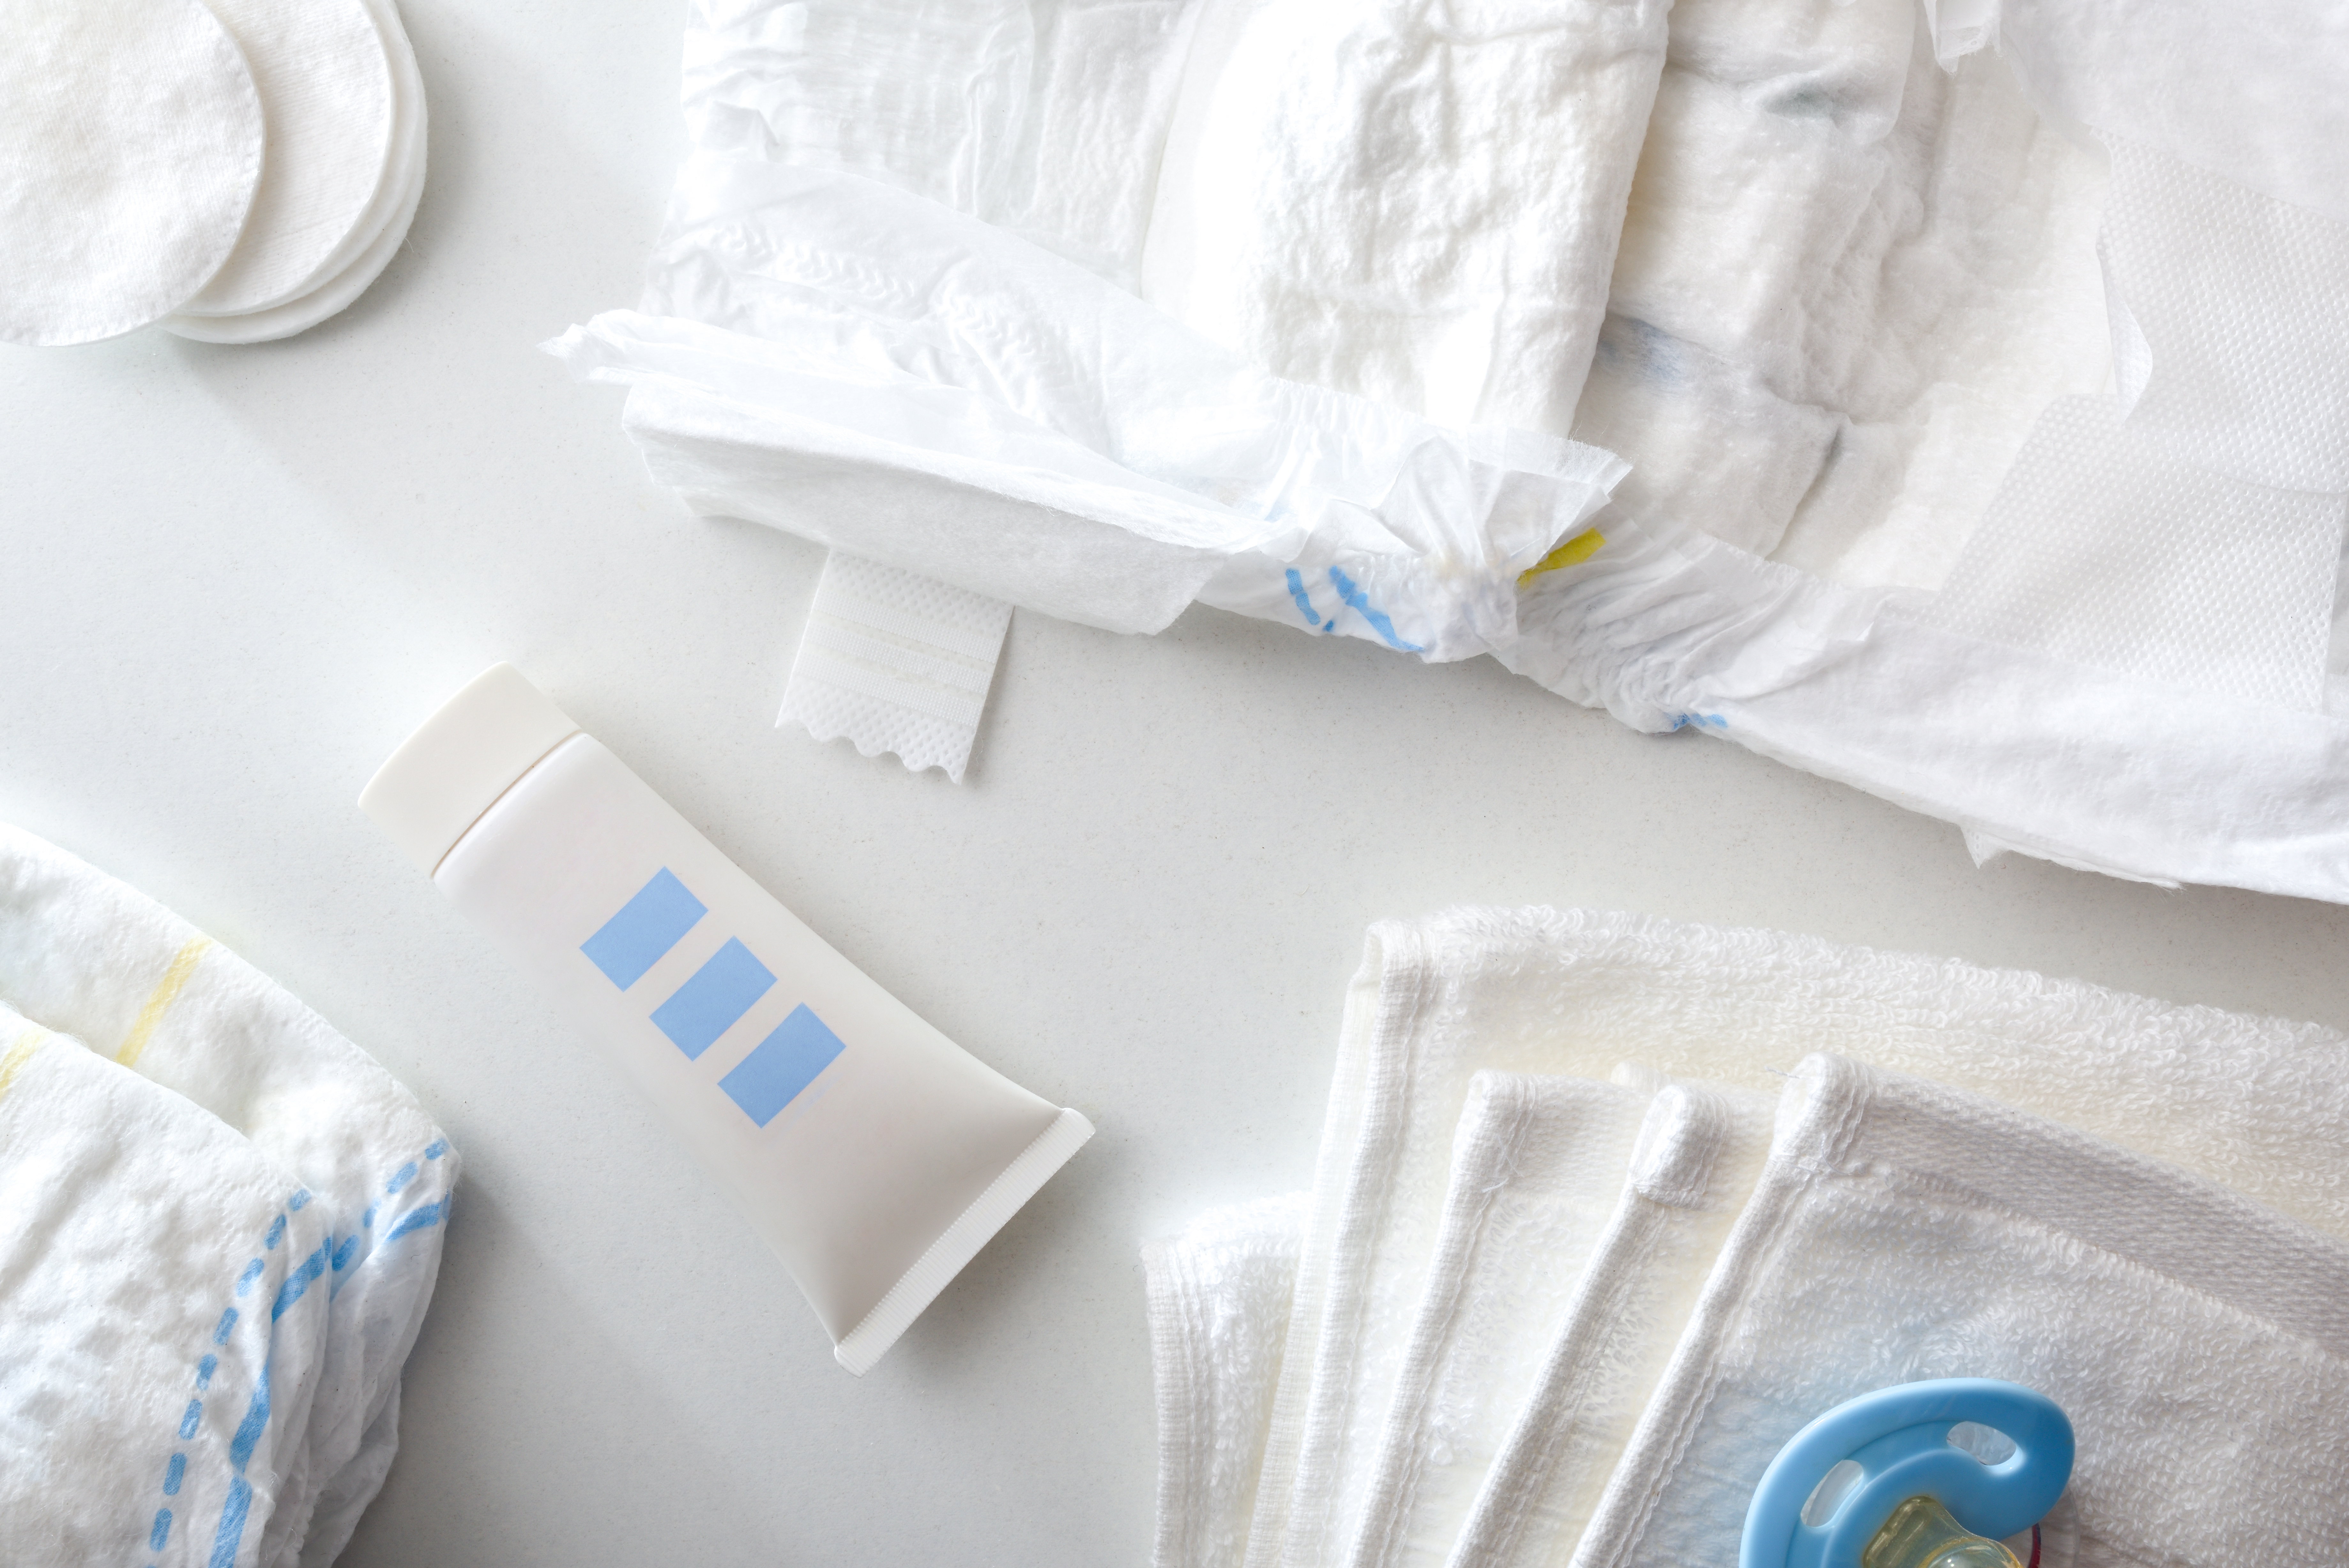
- Clean with lukewarm water or an unscented wipe; pat fully dry.
- Add a quick hydrating layer such as a mist or water-based gel if skin looks parched.
- Apply a thin, even coat of nappy rash cream over the whole area, focusing on folds.
- Let the skin air for one to two minutes before fastening the diaper.
- Use a slightly thicker layer at night when changes are spaced.
Consistency at every change is more important than a heavy coat. If your baby squirms, sing or play to keep the area open to air for a few breaths before sealing the diaper, and keep wipes and cream within reach to shorten the process.
Preventing future flare-ups
Frequent changes, breathable diapers, and gentle cleansers make the biggest difference. Allow diaper-free time daily to let moisture evaporate. Wash cloth diapers with fragrance-free detergent and rinse twice.
Keep a simple log of new foods, wipes, or laundry products so you can spot triggers quickly. A pea-size amount of beef tallow moisturizer or a light tallow balm on clean skin between flares can support the barrier without extra additives. During teething or stomach bugs, expect more acidic stools and plan extra changes plus a fresh layer of cream after each clean. Tracking patterns helps you step up care on high-risk days and dial back when skin is calm.
Ingredients to seek and to avoid
Seek: zinc oxide for shielding, shea and cocoa butter for cushion, jojoba for slip, panthenol for calming, and simple animal fats like tallow balm from grass fed sources. These build a calm, occlusive base without strong scents.
Avoid: fragrance, menthol, camphor, strong essential oils, parabens, and dyes in the diaper area. If a rash looks fungal (satellite dots or shiny plaques), ask a clinician before layering standard creams, and follow their plan with any medicated product. When trying a new nappy rash cream, patch test on a small area for one change before using it everywhere, and write down any reactions.
When to contact a pediatrician
If redness lasts three days, shows open cracks, bleeds, or comes with fever, get medical advice. Pustules, well-defined shiny patches, or extreme discomfort during changes can signal yeast or bacterial involvement. Share your diaper routine, wipes brand, and the nappy rash cream ingredients so the clinician can spot irritants quickly. Early guidance prevents longer soreness and helps you adjust products confidently. If antibiotics or antifungals are prescribed, continue gentle barrier care once treatment begins to keep the area comfortable, and ask how to layer the cream with any medication.
Safe storage and travel
Store creams at room temperature away from direct sun so textures stay smooth. Keep a mini tube or decanted pot in the diaper bag so you never skip a layer on the go. Use clean hands or a small spatula to avoid introducing bacteria.
When traveling by air, pack the cream in a clear bag and keep a few fragrance-free wipes and spare diapers handy to allow quick changes without delays. Toss any jar that smells sour, changes color, or separates in odd ways. Rotate stock so you always use the oldest tube first.
One-week action plan
- Day 1-2: change every two hours while awake, clean gently, and apply a thin layer each time.
- Day 3-4: add five minutes of diaper-free time after the evening bath to air the skin.
- Day 5: review your log for any new foods, wipes, or detergents introduced.
- Day 6: if redness is down, keep the same cadence; if not, take photos and message your pediatrician.
- Day 7: refresh supplies, wash cloth diaper liners thoroughly, and keep the routine steady for the next week.
This rhythm shows you what consistency can achieve before adding new products.
Spotting product-related irritation
If you see new bumps, shiny patches, or sudden burning, stop the current cream and rinse with lukewarm water. Switch to plain barrier protection like zinc and seek advice if pain continues. Keep the product label handy so your pediatrician can identify potential triggers. Introduce only one new item at a time so you can link reactions to a single change. If redness improves within 24 hours of removing a product, avoid that formula and choose a simpler substitute.
Diaper change checklist
Keep these on hand: fragrance-free wipes, a soft cloth for drying, your chosen barrier cream, a backup cloth-safe liner, and a small trash bag. Wash hands before and after each change. Talk to your baby during the process to keep them calm, and allow a quick air-dry moment before sealing the diaper. Having a reliable setup reduces skipped steps and keeps skin protected at every change.
Overnight comfort tips
For long stretches of sleep, use super-absorbent diapers, a breathable sleep sack, and a thicker evening layer of cream on high-friction spots. Check once overnight if your baby wakes; otherwise let them sleep and reapply first thing in the morning. If you notice leaks, add a cloth liner to wick moisture away. Keep a small flashlight nearby so you can do quick checks without bright lights that fully wake your baby.
Conclusion
A calm routine and a reliable nappy rash cream keep diaper days easier. By choosing short-ingredient, fragrance-free formulas, applying thin layers at every change, and giving the skin room to breathe, you protect the barrier and reduce flare-ups. When in doubt, involve your pediatrician early and document what products you use so you can pivot fast to whatever keeps your baby comfortable.
FAQ
How thick should the layer be?
Use a visible but thin layer during the day and a slightly thicker coat overnight. If it wipes off immediately, use a bit more; if diapers slide, use a bit less.
Is it safe with cloth diapers?
Yes. Pick cloth-safe, petrolatum-free creams or line diapers with a reusable liner to prevent buildup. Wash with fragrance-free detergent and double rinse to keep fibers absorbent.
Can I use it every diaper change?
Daily use is fine with gentle, fragrance-free formulas. Apply at each change for babies prone to moisture rash, and add diaper-free time so skin can air out.